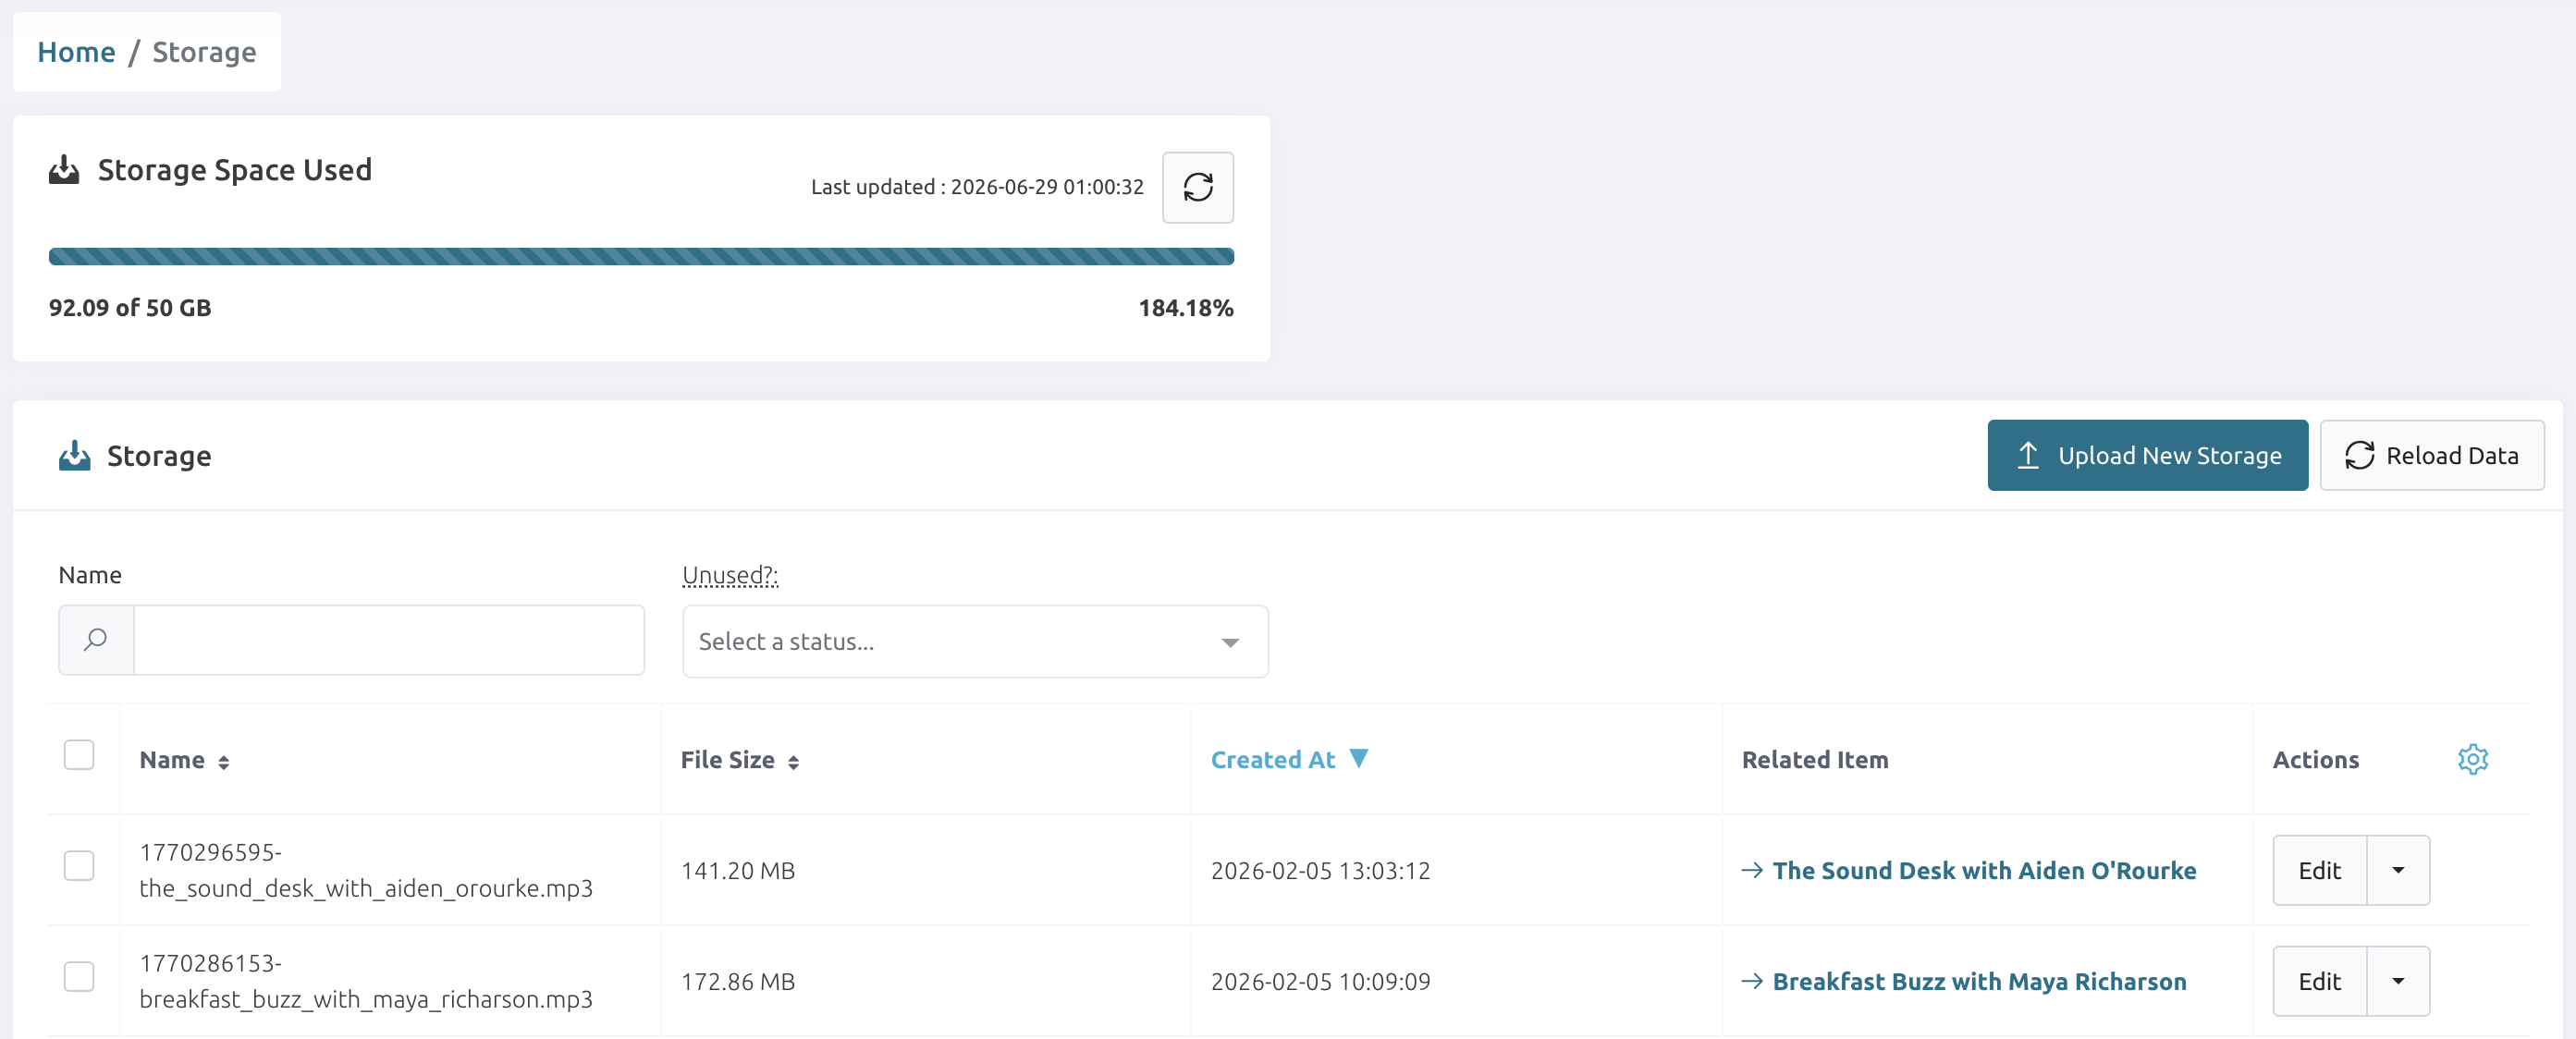
All of the audio content available in your Timbre account lives within Storage. Whether it’s a recording from a scheduled event or a manual upload from your local storage. These storage files can be used when creating items.
TABLE OF CONTENTS
Adding New Files
To add storage files from your local disk, click the "Tools" dropdown and select “+ add files”
You can import multiple items at once from your local drive, when loading is complete, they will be added to Storage.
Storage
All media files will appear in the Storage Media list, this includes manually uploaded files and show recordings from scheduled events and quick records (see Scheduler and Recordings).
Click the arrow next to any listed item (under actions) to download the file, delete it or quick-create an Item from it.
Filters
To search for Storage Media assets, click the “filters” dropdown and enter your search term in the “name” field. You can also choose to exclude or only include “unused” files (files not being used in Items).
Editing Storage Media Files
To edit a storage file click the edit button under the actions column.

Waveform/Preview
On the edit page, you will see 2 waveforms. The top waveform shows the entire audio file, the bottom shows the zoomed view. You can change the zoomed view using the zoom level slider (the minimum value shows the full waveform).
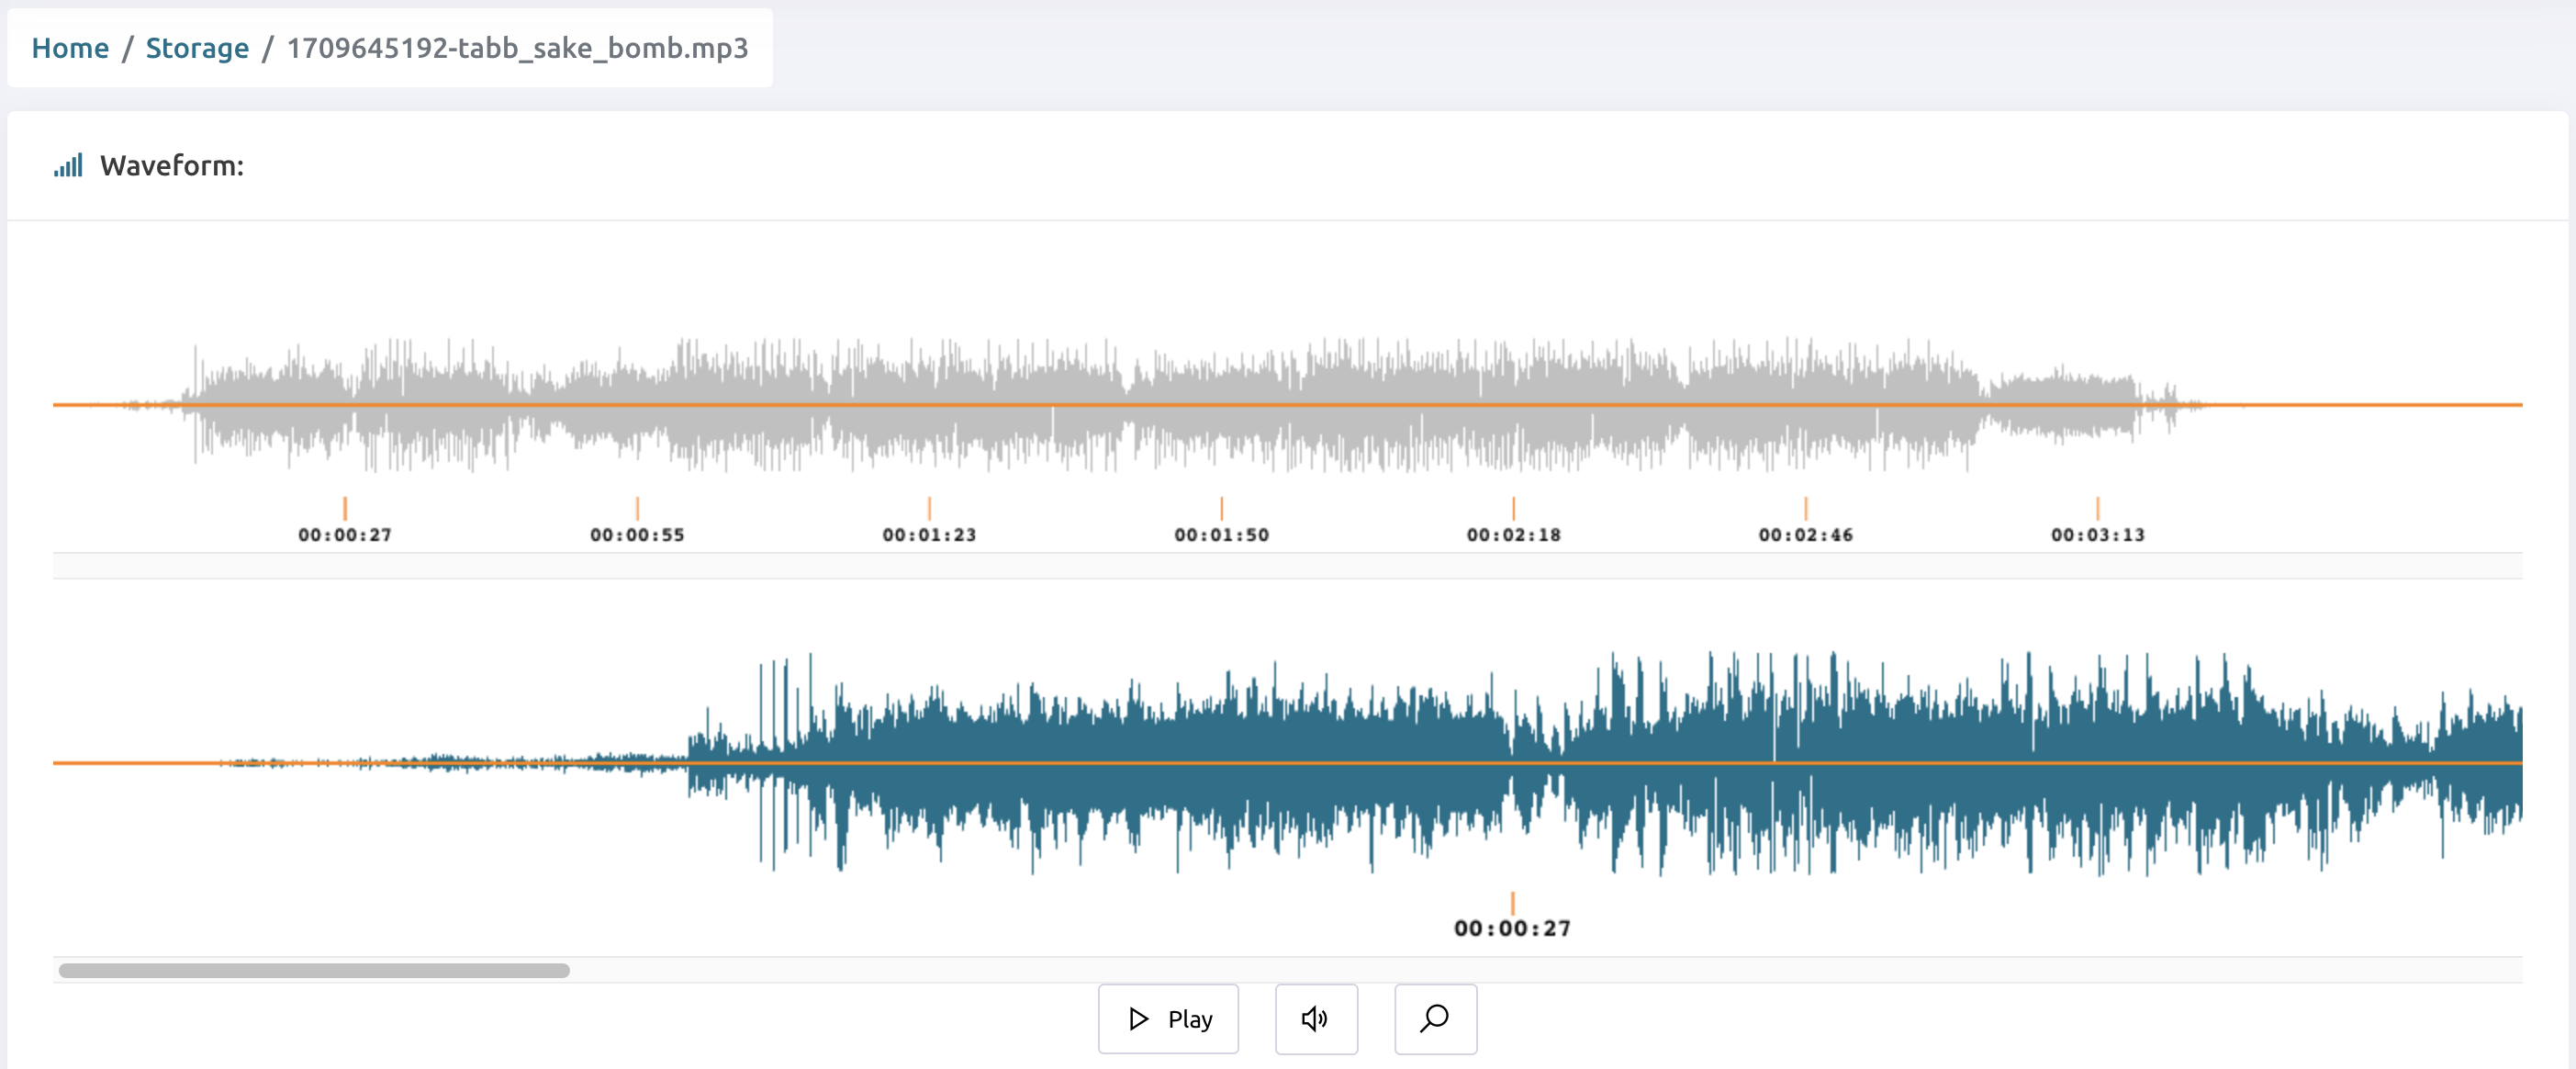
You can preview the file by clicking the play button. The file will play from the black marker. Click any point in the waveform to move the playback marker.
File Information
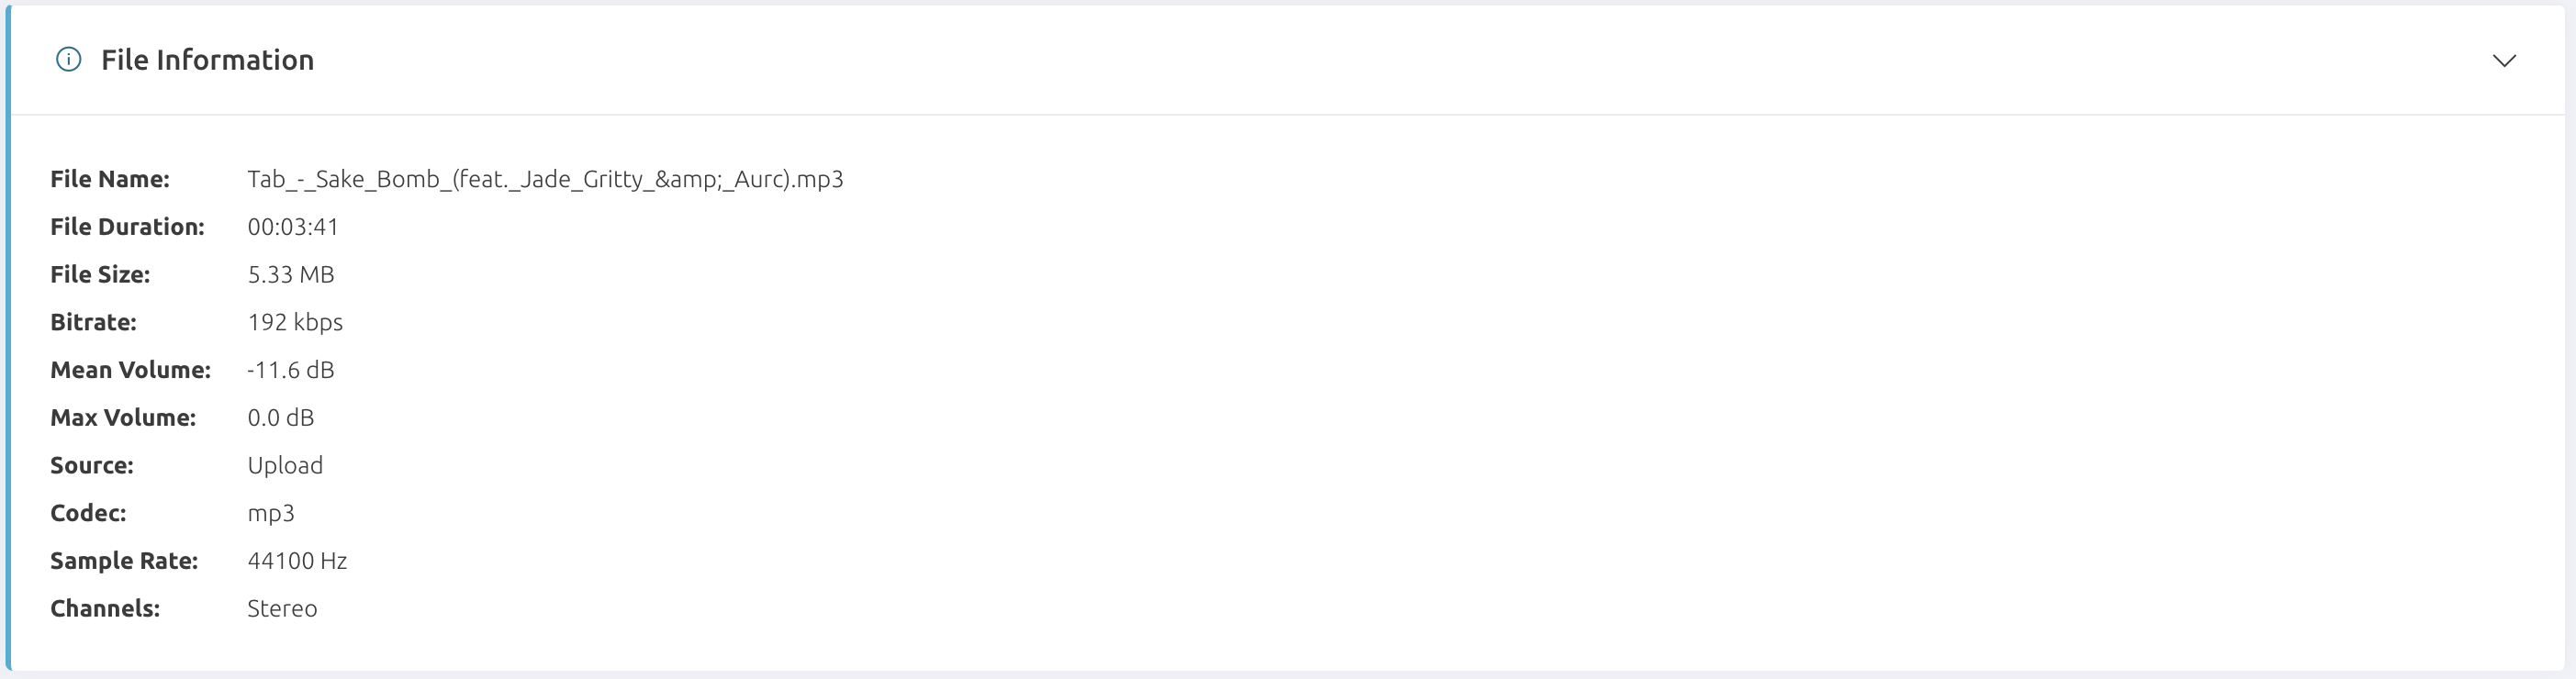
The file information dropdown provides a breakdown of available metrics for your storage asset.
Metadata
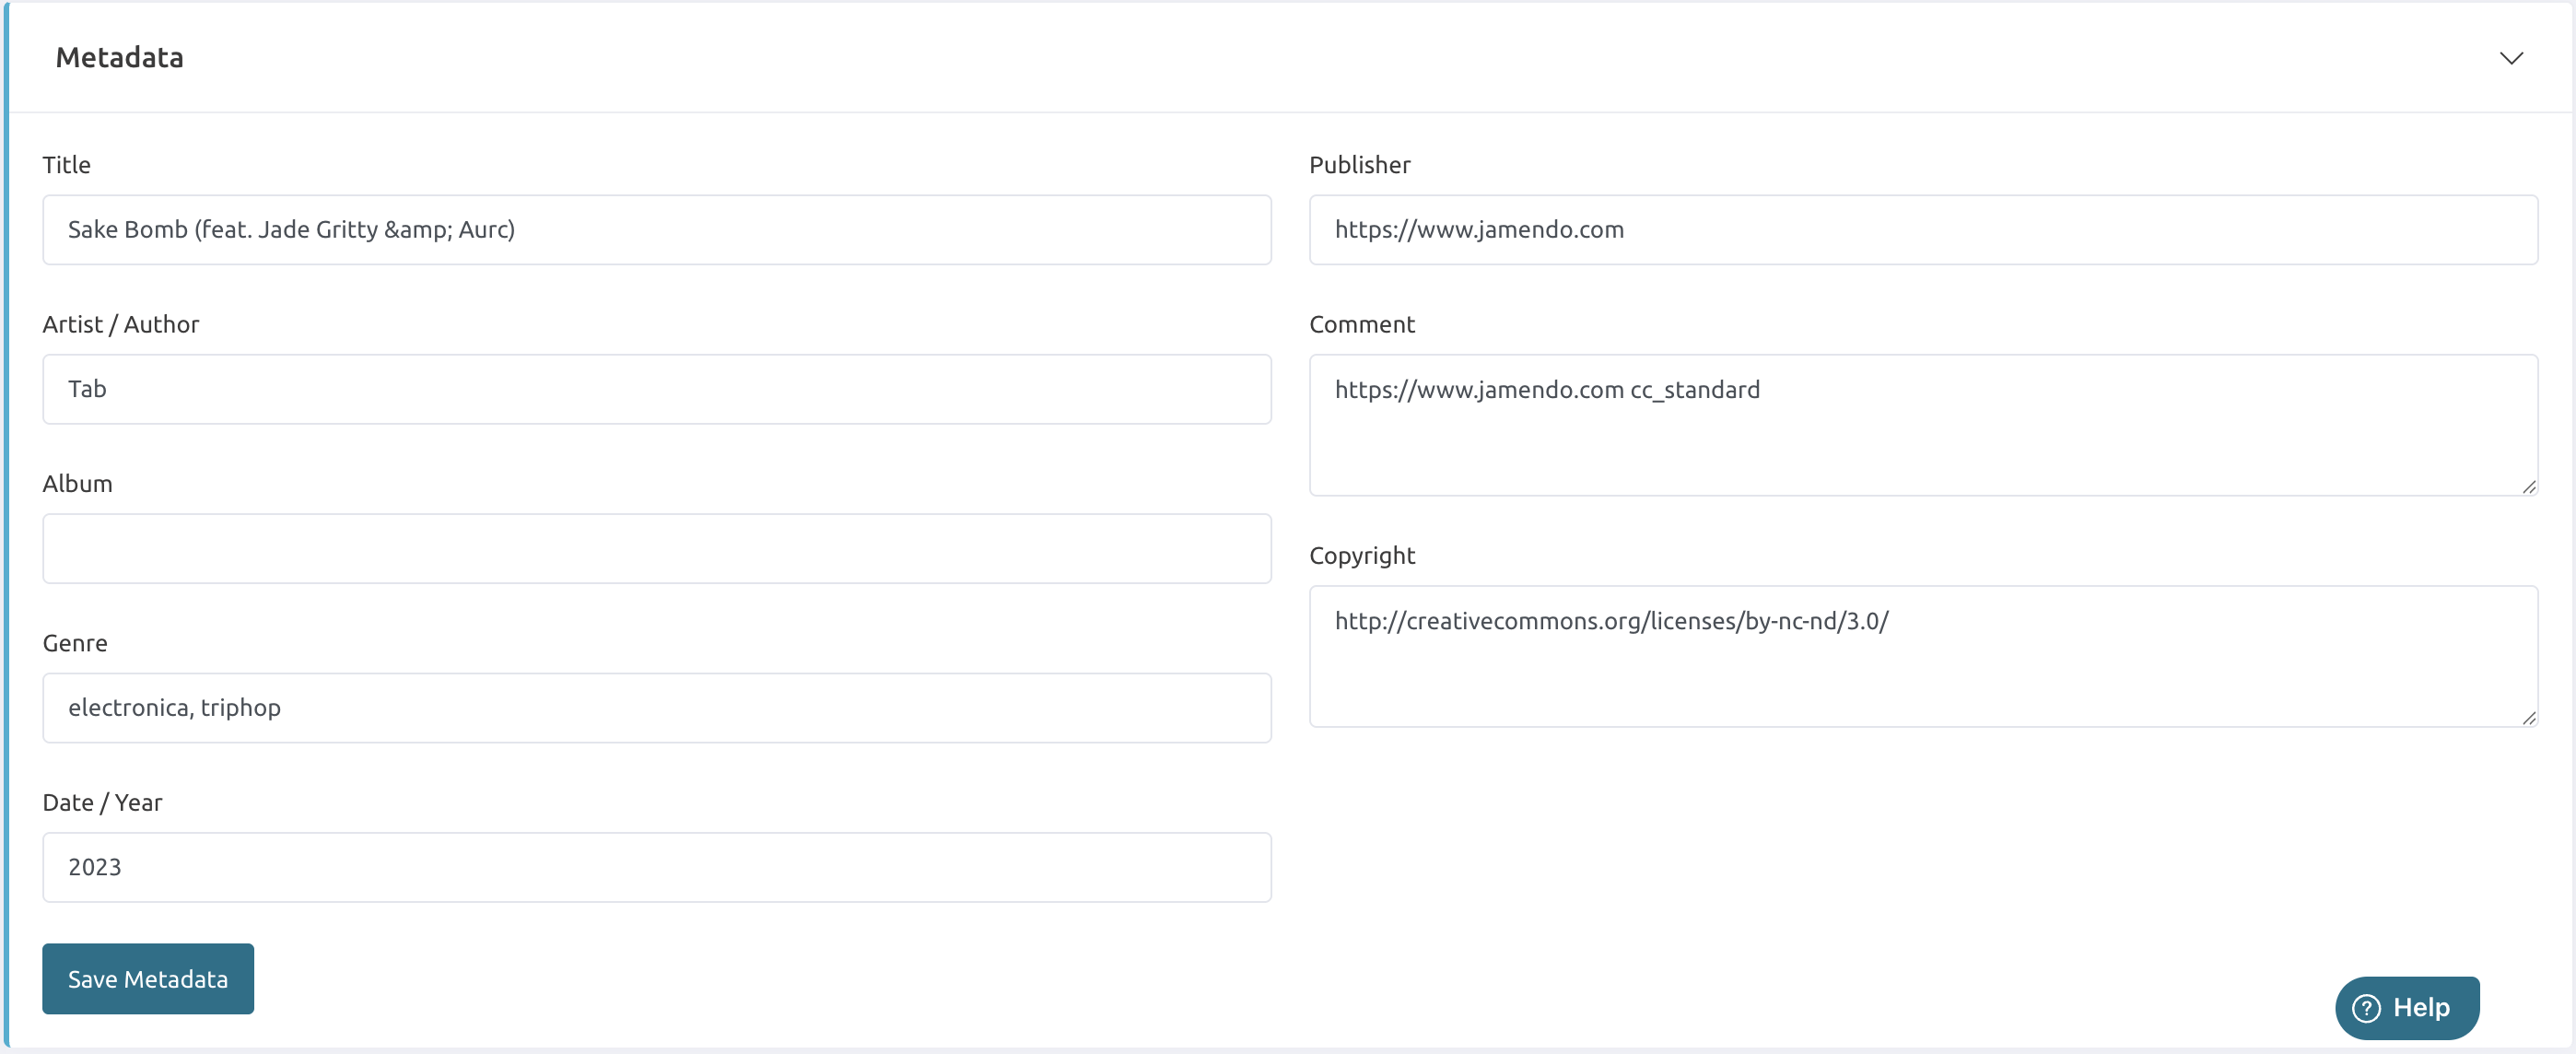
Add ID3 metadata tags to the audio asset. If the storage asset does not already have a metadata title, it will be automatically set to the Item title when attached to the Item.
You can set default copyright for Item metadata in Preferences